How to Edit a PDF on Mac for Free

Summary :
This article shows you how to edit PDF text, image, object, etc. on Mac using PDFgear’s free tools and the in-built Preview app.
Table of Contents
Editing PDF text and objects on Mac devices can be a challenging task, as the inbuilt options are quite limited. With the Preview app, you can simply add text and do basic markups.
On this page, you’ll learn how to use PDFgear’s free online service and macOS app to edit PDFs on Mac in a professional way, but for free.
Comparing the Methods
Editing PDFs on Mac can be an all-inclusive topic. Choose the method that best fit you according to the features they have to offer.
| Tools | Key Features |
| PDFgear online editor | Add text, annotate, add shapes, white out, and draw. |
| PDFgear Mac app | Edit existing text, change text font, mark up text, add images, and redact. |
| Preview | View PDF, add text, annotate, add shapes, and draw. |
Edit PDF on Mac Online for Free
With PDFgear’s online PDF editor, you can add text to PDF, annotate PDF, add images to PDF, etc. on Mac, without software installation.
PDFgear is free to use, there’s no need to sign up for an account, and there’s no watermark.
Step 1. Go to PDFgear online PDF editor, and click the Select PDF File button to open the PDF.
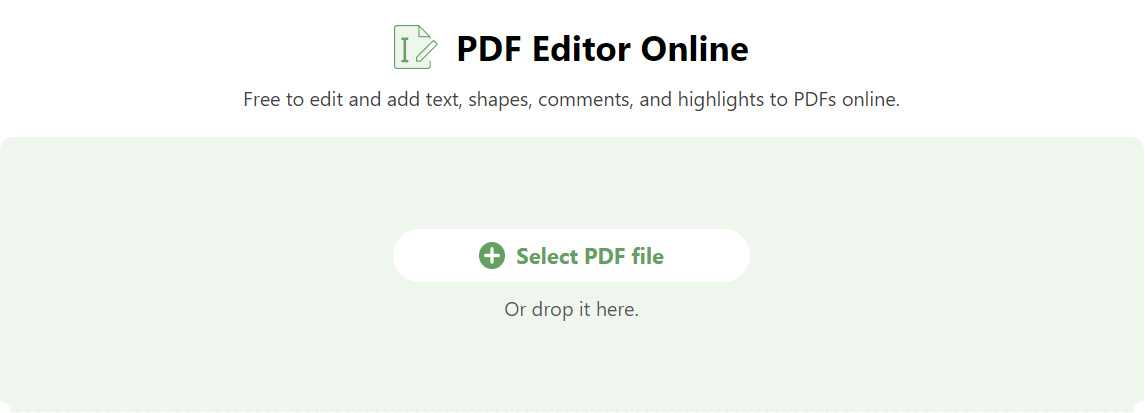
Select PDF file
Step 2. To add text to the PDF, click on the Free Text button from the upper menubar and click on the PDF page to insert the text box.
Double-click on the inserted textbox, and type in your desired text.
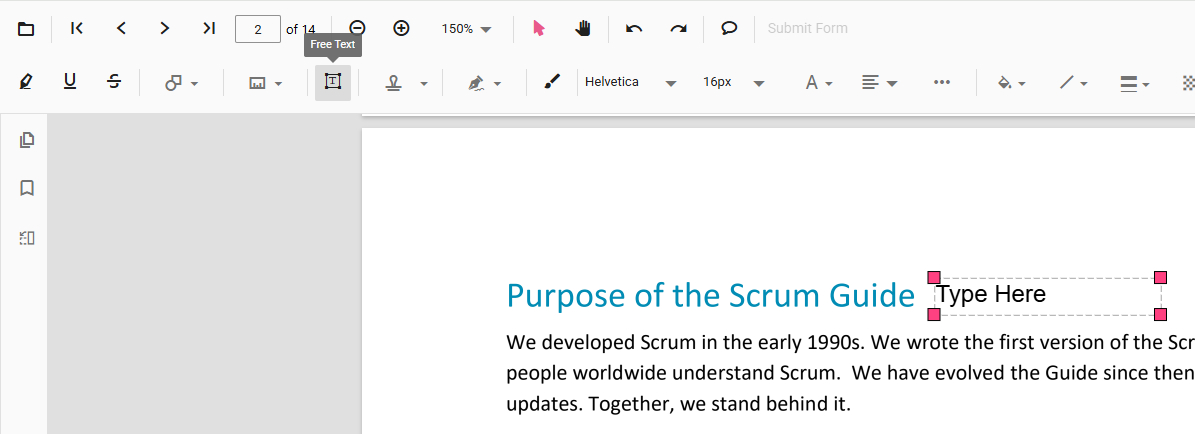
Add Text
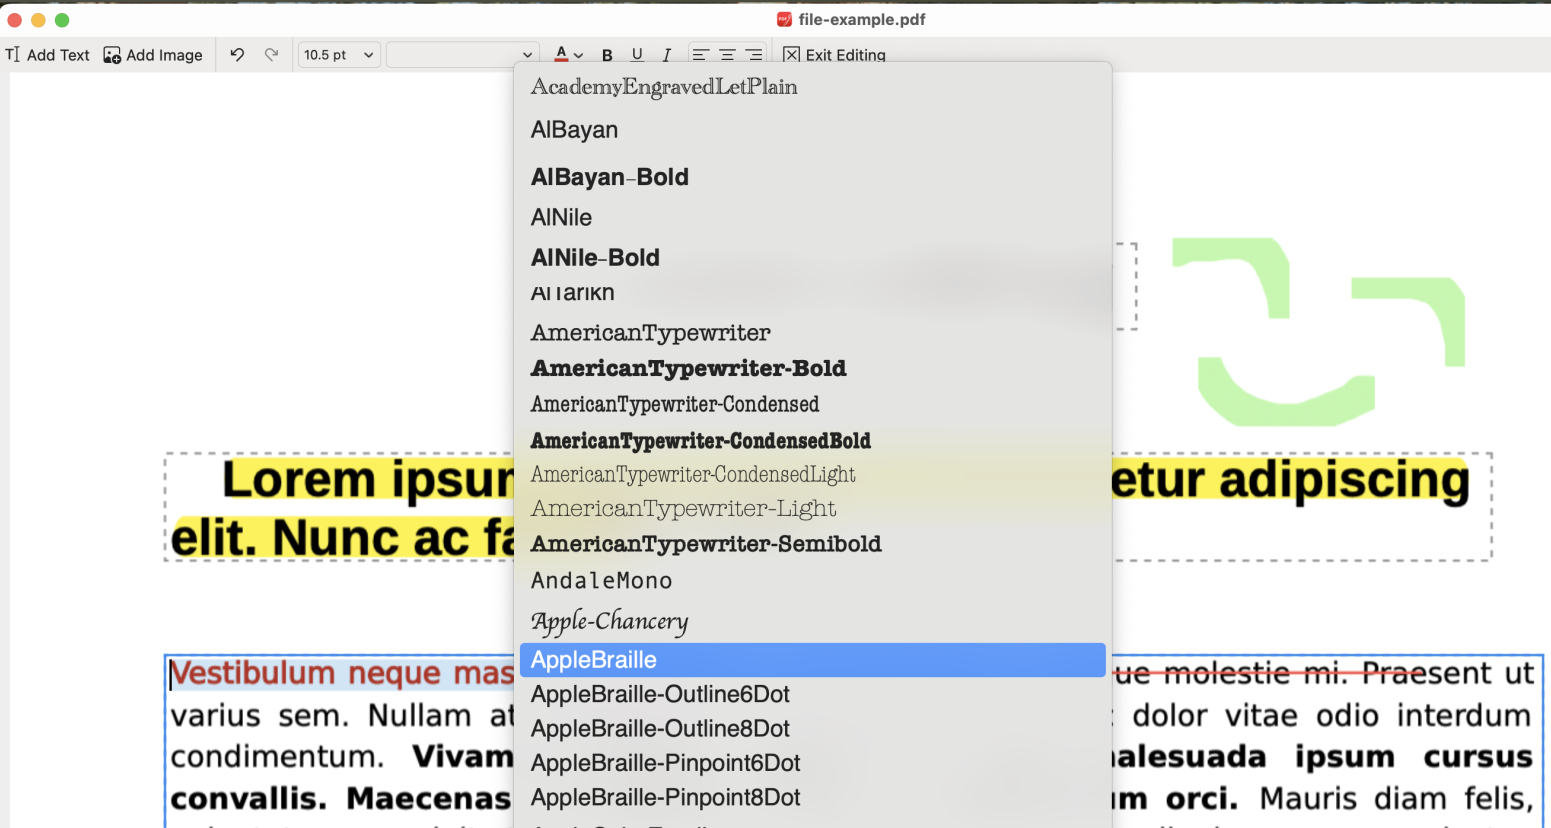
Step 3. Click on the corresponding buttons from the upper menubar to change the font style, font size, font color, alignment, etc. for the added text.
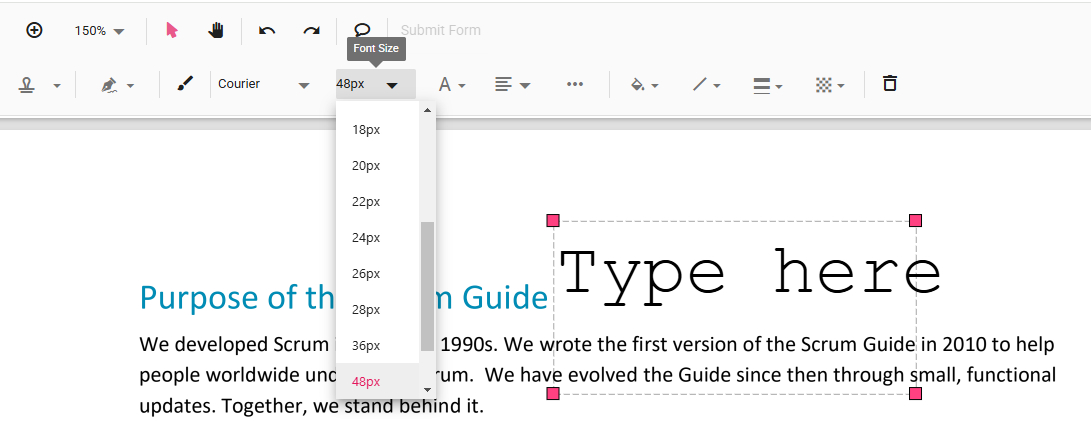
Change Text Style
Step 4. Click the Highlight Text, Underline Text, or Strike Text buttons on the upper ribbon and select PDF text to mark up text accordingly.
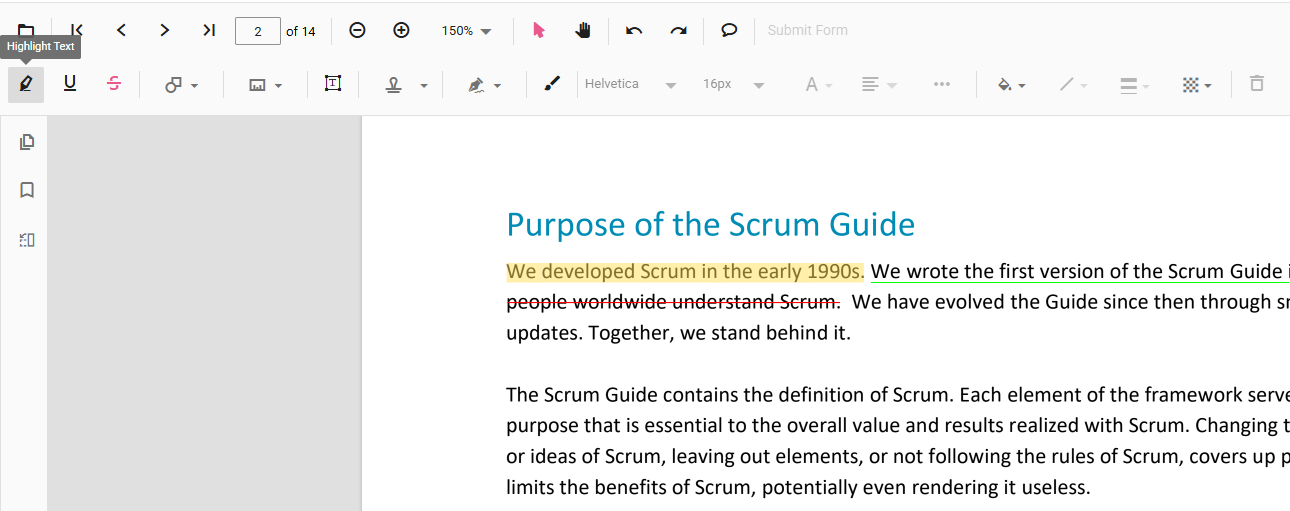
Mark Up Text
Step 5. Click the Shape button and select a shape to insert into the PDF.
By changing the Fill Color and Stroke Color of the inserted shape, you can also white out on PDF.
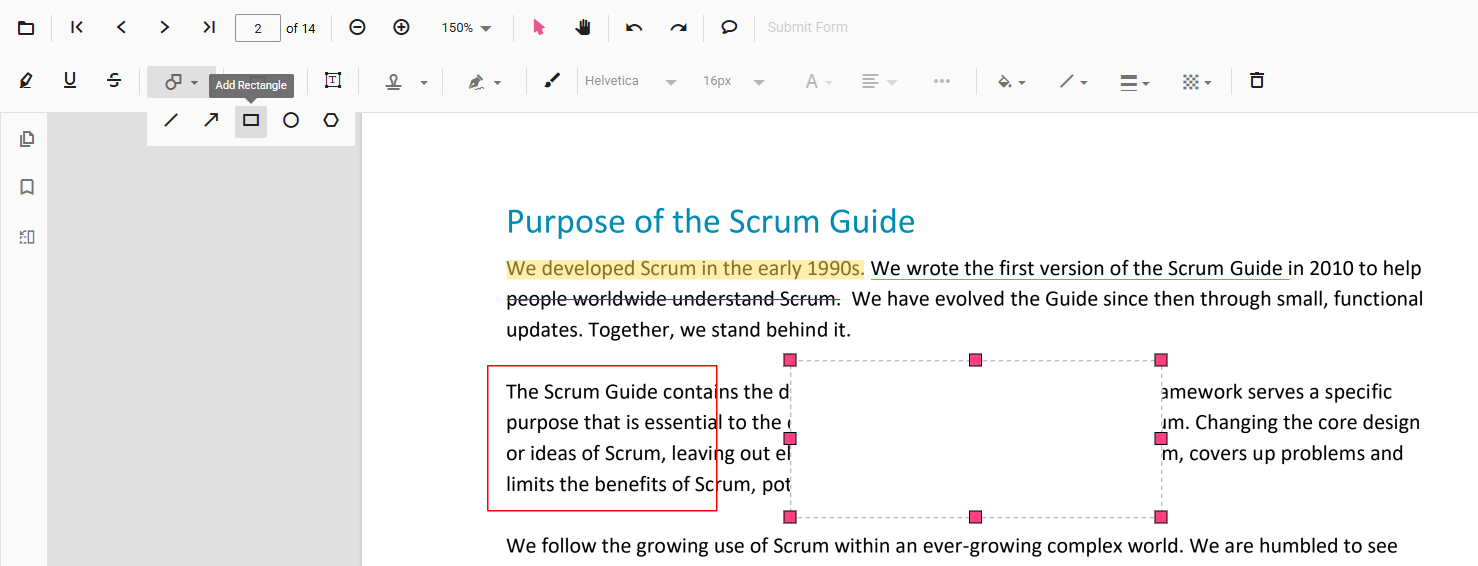
Add Shape
Step 6. Click on the Draw Ink button so you can add free drawing on the PDF.
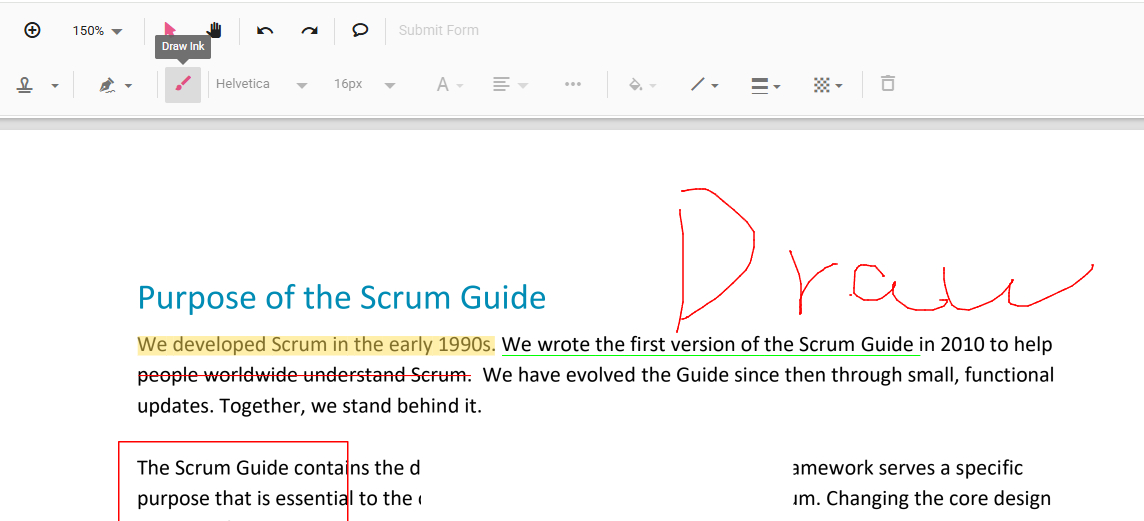
Draw on PDF
Edit PDF on Mac Using a Free and Powerful App
As you can see, the online service only provides basic PDF editing, and you can’t access advanced PDF text editing features like modifying existing PDF content.
If you need to take your PDF editing to a professional level, look no further than the PDFgear app for Mac. Now let’s see how it works.

Video Tutorial
Step 1. Download and install PDFgear on your Mac device. Open PDFgear, and click Open File to open the PDF you need.
Open File
Step 2. Go to the Notes toolbox and click on the Textbox button. Click on the PDF to insert a textbox and type in your desired text.
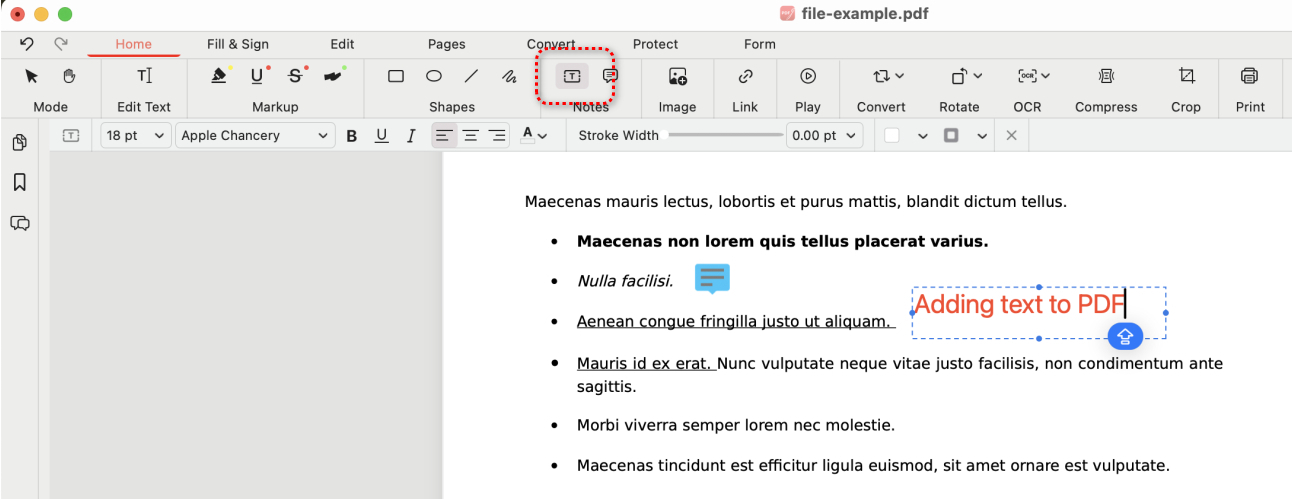
Add Text
Step 3. You can also add a callout text box into the PDF for annotation purposes.
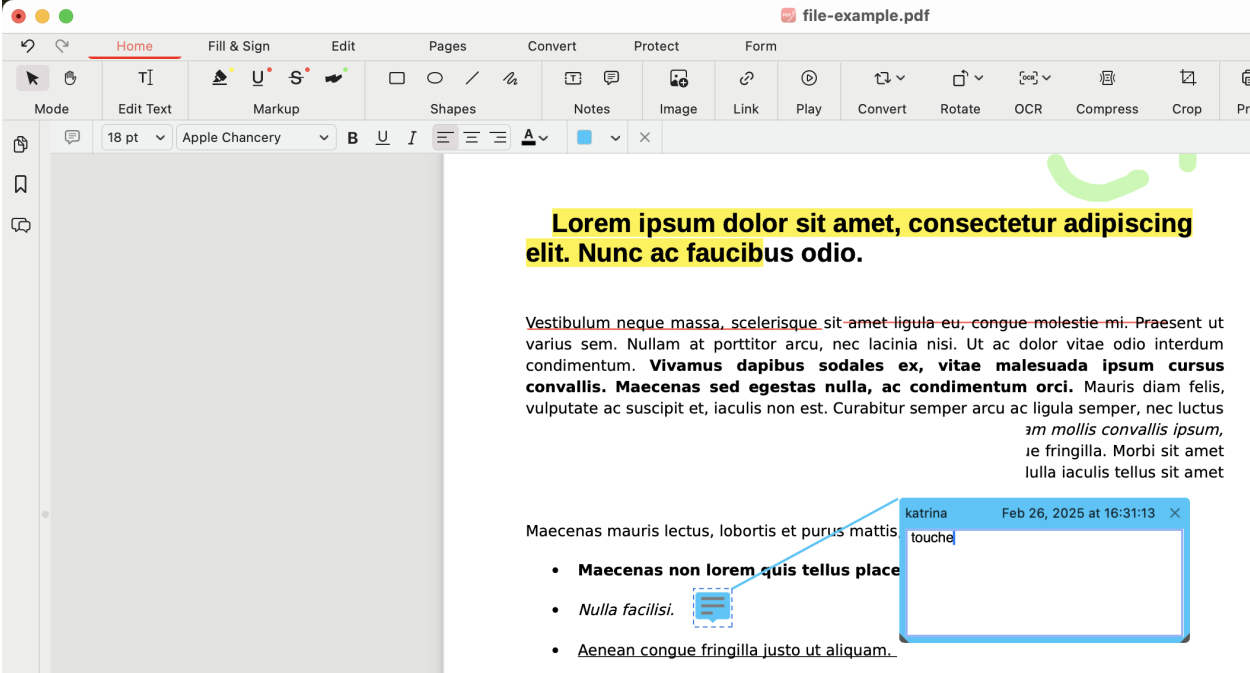
Add Callout
Step 4. In the Markup toolbox, you’ll find options to highlight, underline, or strikethrough text in PDF, or draw on the PDF.
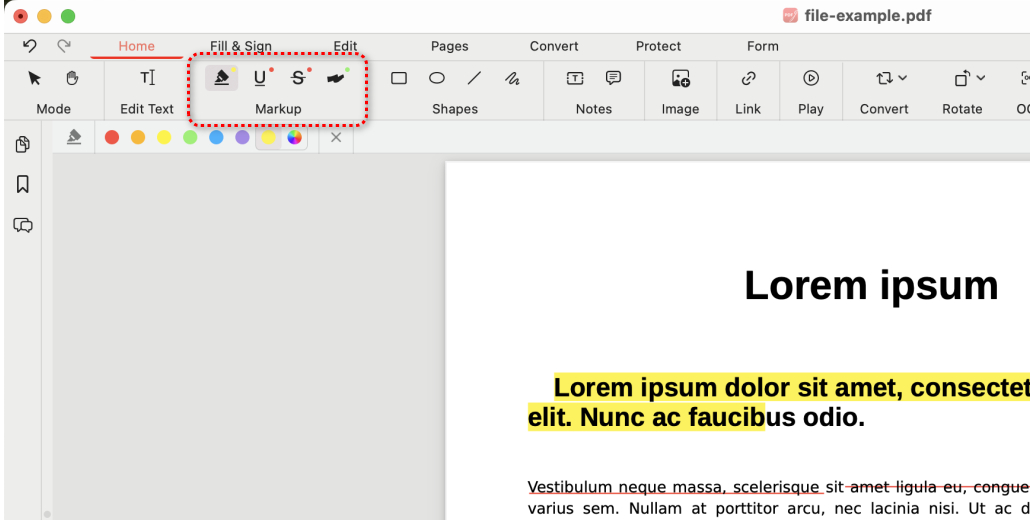
Markup PDF
Step 5. Go to the Shapes toolbox to add a preferred shape into the PDF, and you can customize it’s fill color, stroke color, and stroke width.

Add Shapes
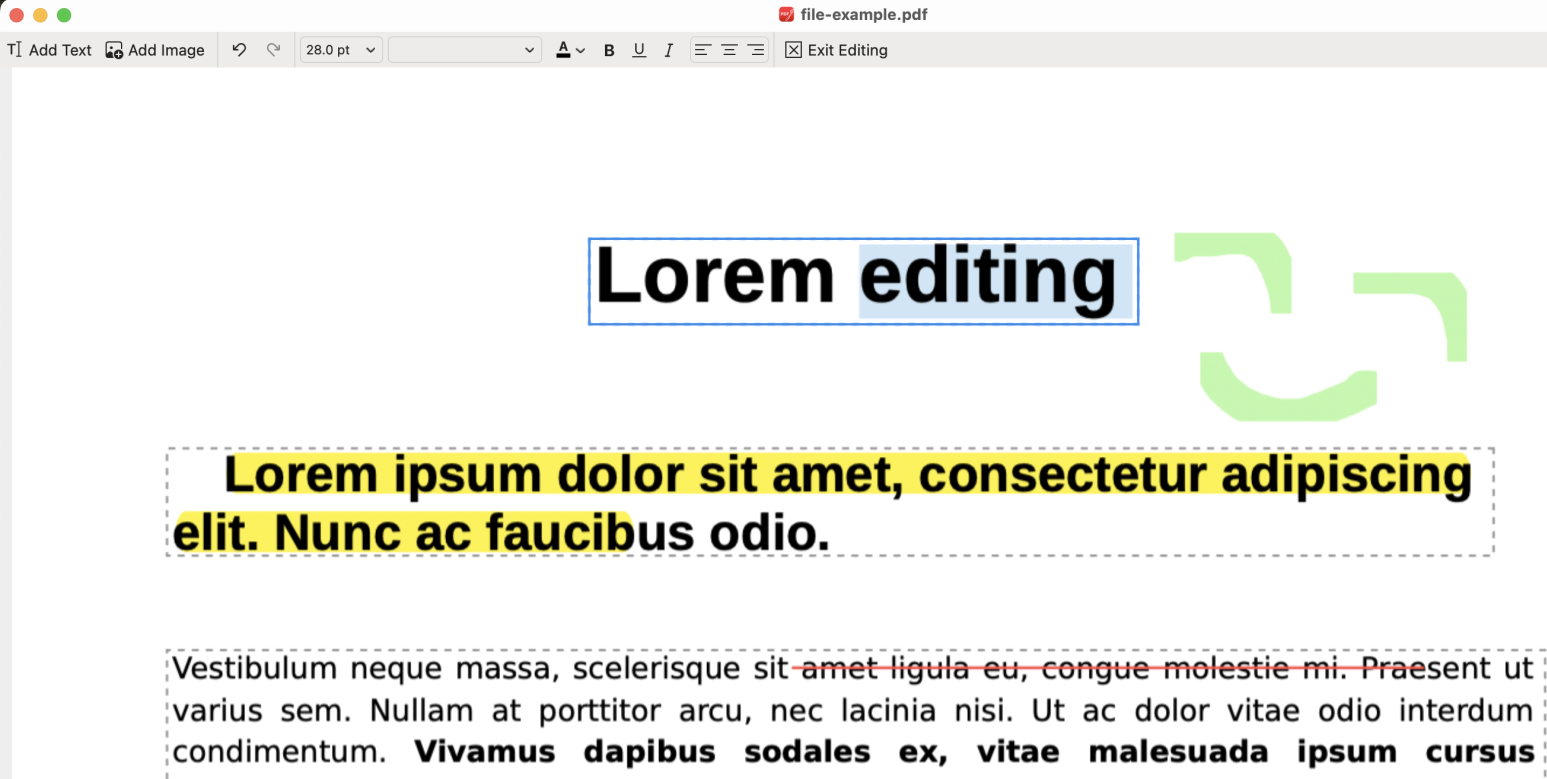
Step 6. To edit PDF text, click on the Edit Text button and you’ll be led to the text editing mode.
In this mode, PDF text will become selectable, and you can edit it like you would in Microsoft Word.
Edit Text
Step 7. You can also select text and use the options from the upper ribbon to change text font, font size, font style, alignment, etc.
When you’re done editing text, click Exit Editing to get back to PDFgear’s main workplace.
Change Font
Step 8. To save the modified PDF, go to File and select Save As to save a modified PDF copy.
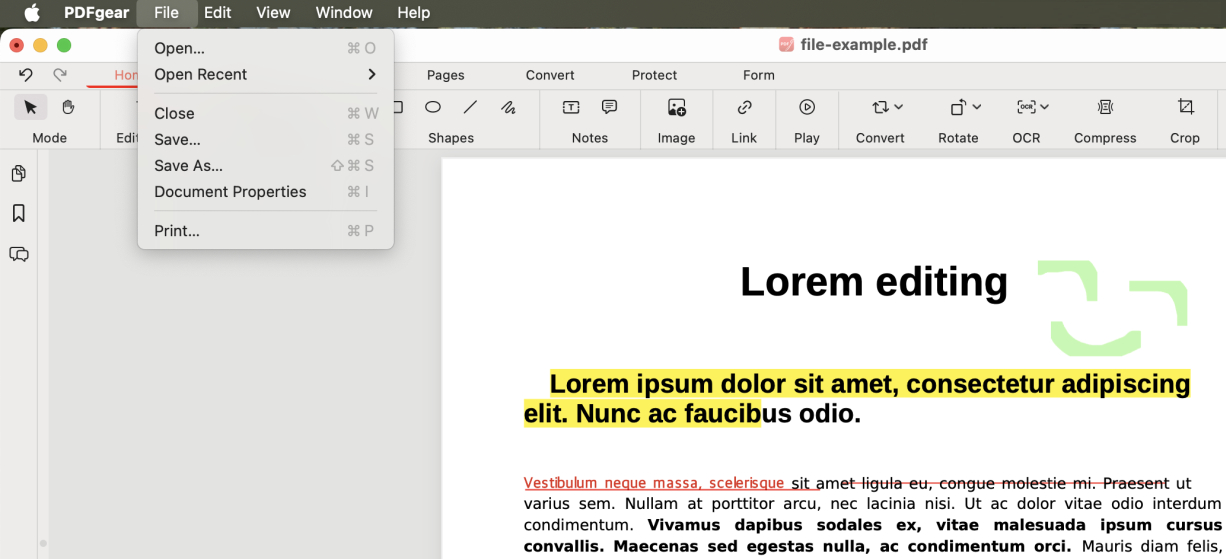
Save As
Add Text to PDF and Mark Up Text with Preview
The built-in PDF reader app Preview on Mac can be a handy option for simple PDF markups, yet you should note that it doesn’t allow you to edit existing text in PDF documents, it solely offers a series of markup tools to add additional text to PDF.
To use the Preview markup tools, you should start by enabling the Show Markup Toolbar option.
Step 1. Right-click on the PDF you need to edit, and open it with Preview.
Step 2. Click the “View” tab, and select “Show Markup Toolbar” from the dropdown.
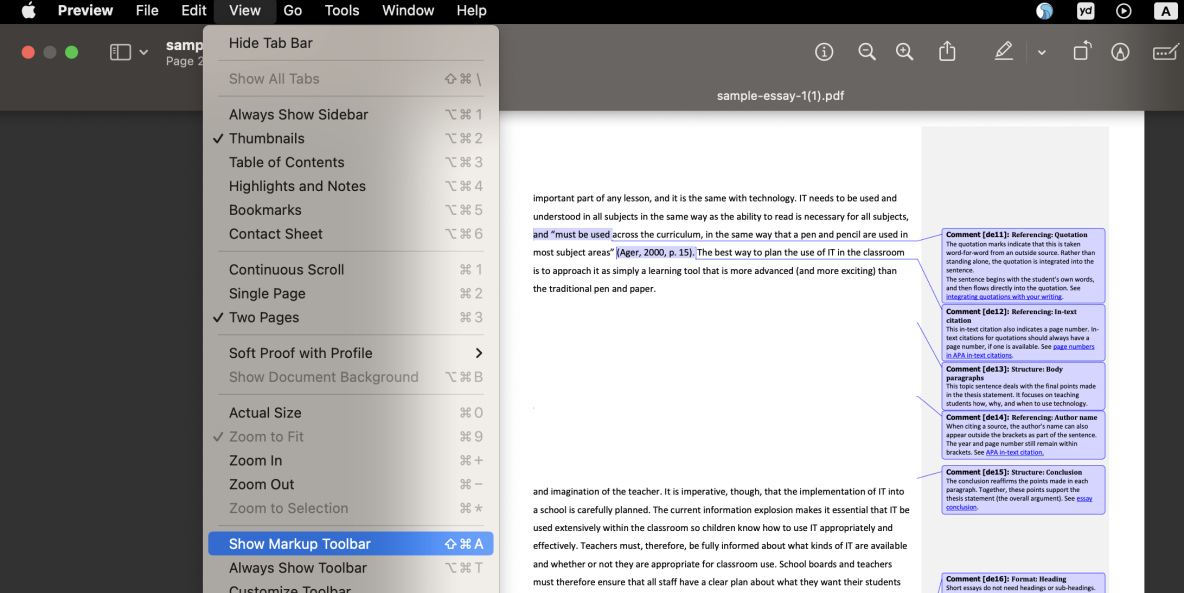
Show the Markup Toolbar
Step 3. Click the “Text” button on the toolbar to insert a text box to the PDF, then type in the text you desire.
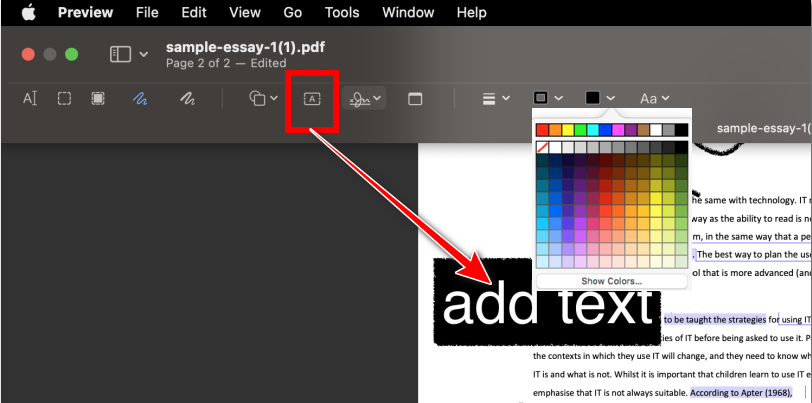
Add Text Box to a PDF
Step 4. With the given features above, you can further change the inserted text size, color, and font.
Preview Markup Features
- Sketch PDF
- Draw on PDF
- Add shapes to PDF
- Add text boxes to PDF
- Sign on PDF
- Add notes to PDF
- Annotate PDF
FAQs
How do I sign a PDF in PDFgear on Mac?
In PDFgear, you can easily sign a PDF by selecting the “Sign” tool from the toolbar. You can either draw your signature using a trackpad or upload an image of your signature. Once created, you can place it wherever needed in the document.
Can I fill out forms in PDFs with PDFgear on Mac?
Yes, PDFgear allows you to fill out interactive form fields in PDFs. Simply click on the text fields, checkboxes, or radio buttons, and type in your information or make selections as needed.
How do I delete pages from a PDF using PDFgear on Mac?
To delete pages in PDFgear, open your PDF and navigate to the “Pages” view. Select the page(s) you want to remove, right-click, and choose the “Delete” option.
How can I convert a PDF to another format using PDFgear on a Mac?
PDFgear allows you to convert PDFs to different formats like Word, Excel, PowerPoint, and image files. To do this, open the PDF, go to the “Convert” option in the toolbar, choose the output format, and save the file in the desired format.