How to Add Image to PDF on Mac for Free

Summary :
This article shows you how to use PDFgear’s free and dedicated PDF editors and the inbuilt Preview app to add images to PDFs on Mac for free.
Table of Contents
While it’s viable to add images to PDF in the inbuilt Preview app on Mac, it’s not an intuitive task and it requires some tricks.
Alternatively, you can use PDFgear’s free PDF editors to easily insert images to PDFs on Mac, online and offline.
Add Image to PDF on Mac Online for Free
PDFgear online PDF editor provides a free and convenient way to add images to PDF on Mac devices, without software installation.
PDFgear not only prioritizes ease of use but also security. Your documents are processed with a commitment to privacy, with all uploaded files being automatically deleted after processing.
Now get started with PDFgear! It’s free to use, and there’s no need to sign up for an account.
Step 1. Go to PDFgear online PDF editor, and click Select PDF File to open the PDF you need to work with.
Select PDF file
Step 2. Once the PDF is opened, click the Stamp button from the upper menubar, and click Custom Stamp in the dropdown.

Create Custom Stamp
Step 3. Choose an image on your Mac to add to the PDF, then you can drag the image to reposition it or drag its corners to resize it.
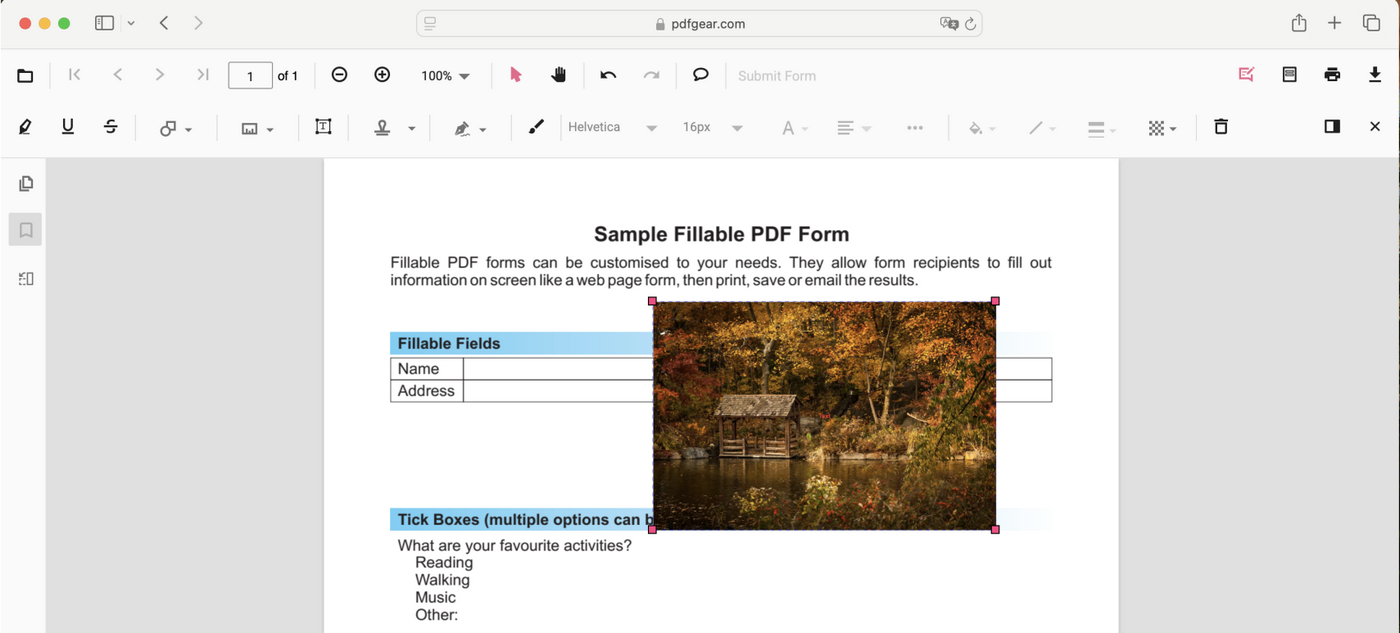
Resize Image
Step 4. When you’re happy with the result, click the upper-right Download file button to download the PDF with the image.
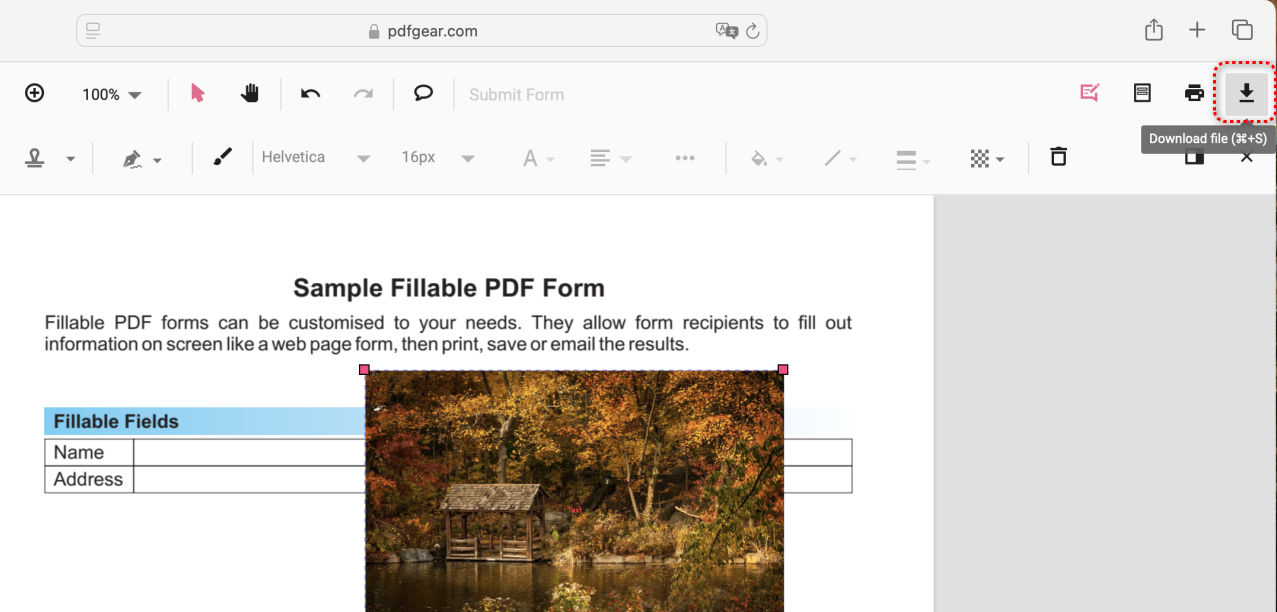
Download File
Copy and Paste an Image to PDF Using the Preview App
The built-in Preview app on Mac also provides basic editing features, like adding images to PDF files.
While you can’t find an option to insert image objects, you can insert an image to a PDF by copying and pasting images from the clipboard (yet, strange enough, Preview doesn’t let you directly do it).
Now let’s see how to do the trick.
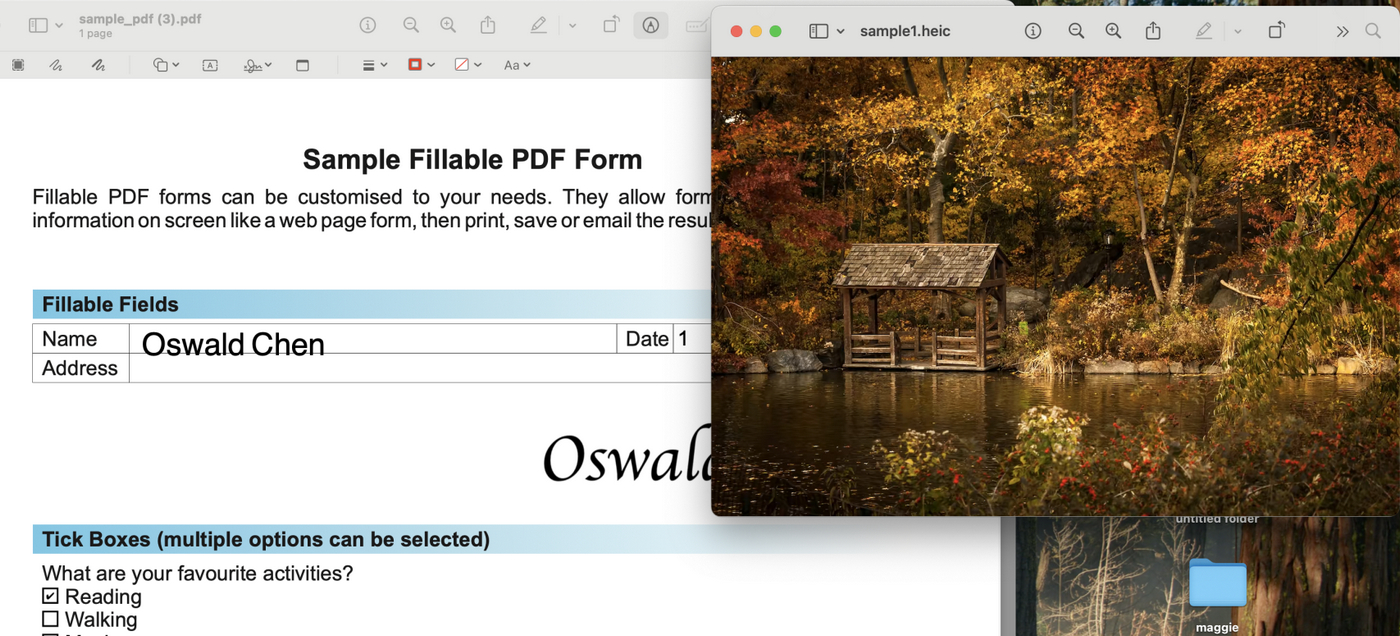
Step 1. To get started, open the PDF in the Preview app, and also open the image you intend to insert into the PDF.
Put them side by side as in the screenshot shown below.
PDF and Image
Step 2. Click on the image, and use the keyboard shortcut Command + A to select the entire image you need (you can also choose to select a part of the image).

Select All Image
Step 3. Here’s the tricky part, you’ll need to use the keyboard shortcut Command + C and Command + V to paste the image on top of itself, this turns the image into a selectable object, which is saved into the clipboard.
⚠️ If you directly copy and paste the image into PDF into Preview, it simply won’t work.

Paste on Itself
Step 4. Go to the PDF side of the screen, click on the PDF, and use the keyboard shortcut Command + V to paste the image into the PDF.
Drag on the image to resize it or reposition it as desired.
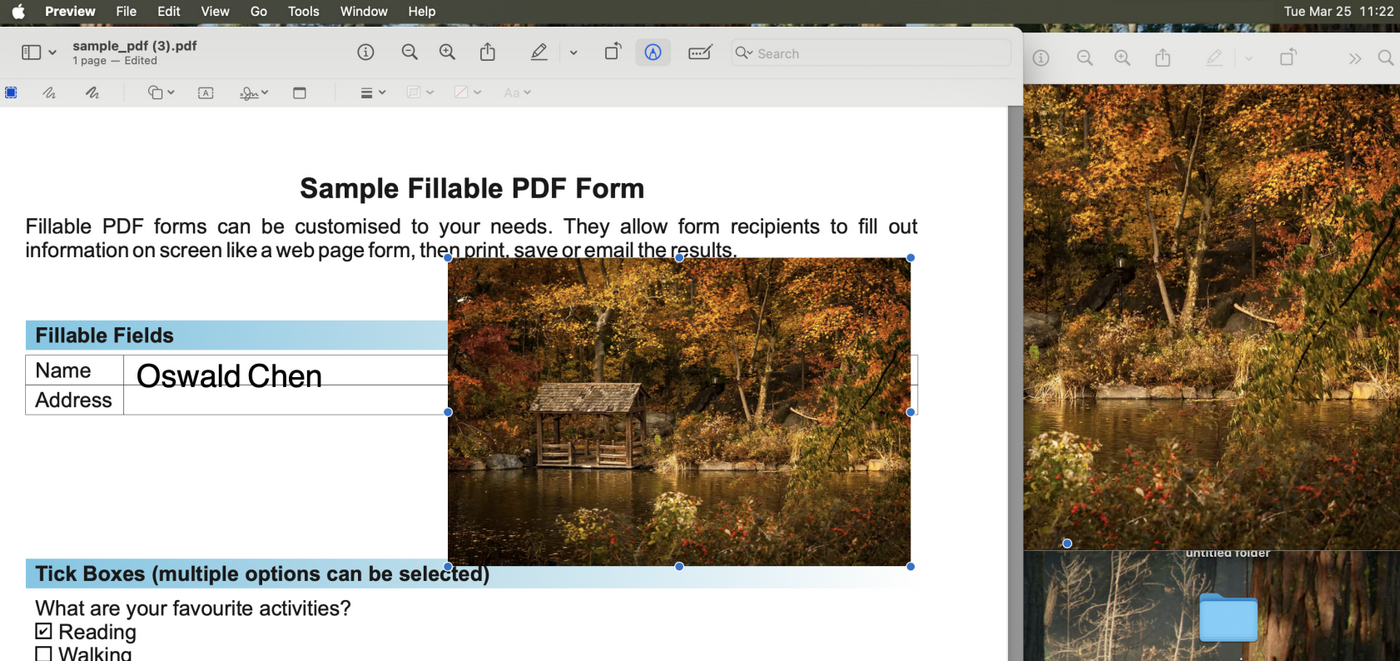
Paste the Image into PDF
Step 5. Lastly, go to File > Save to save the PDF with the added image.
Save PDF in Preview
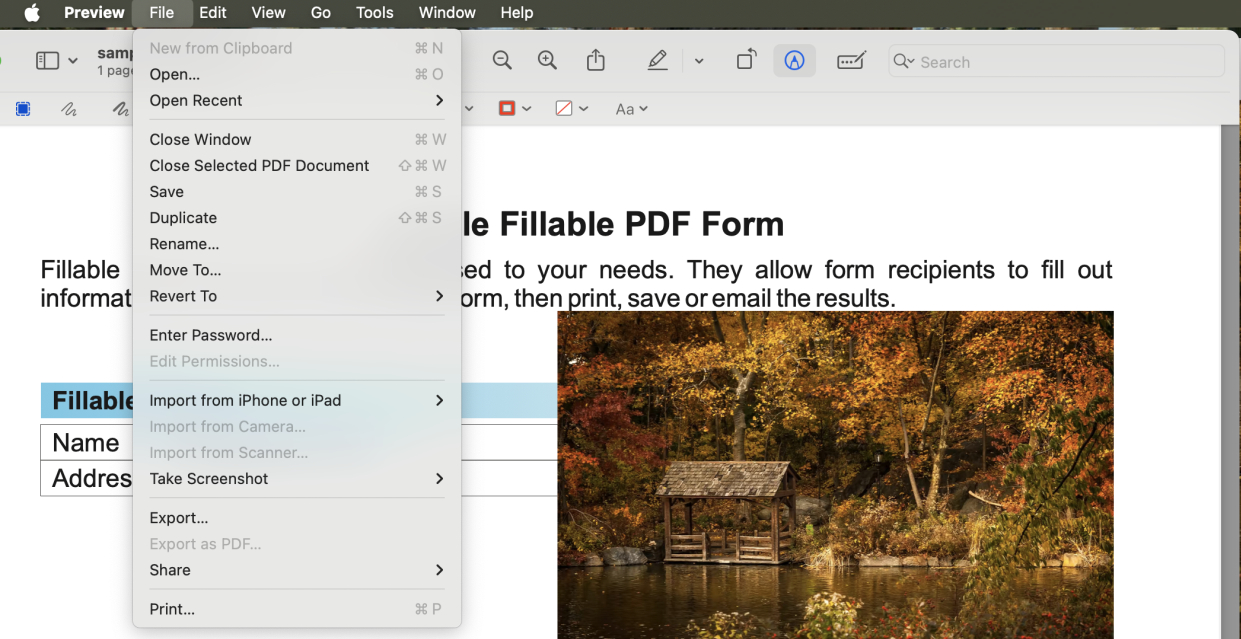
Step 6 (Optional). A PDF containing images can be excessively large in file size.
You can also choose to go to File > Export, select the Quartz Filter pop-up menu, and choose Reduce File Size.
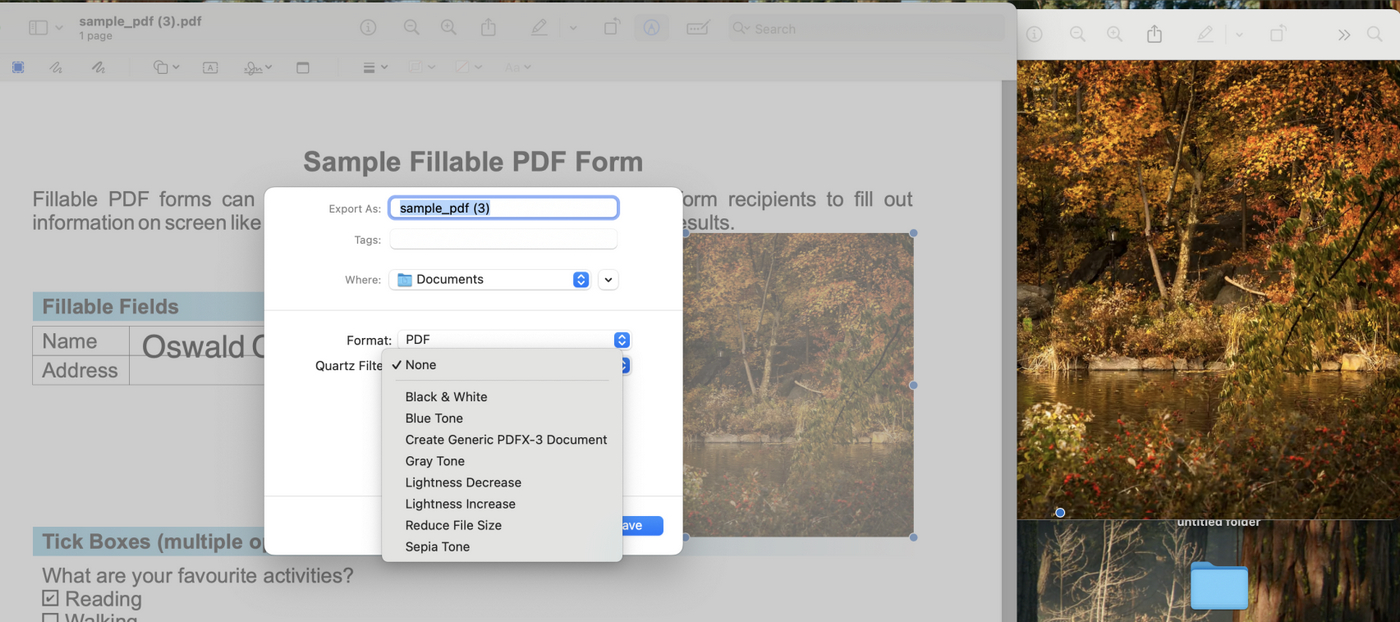
Reduce PDF Size
Add and Edit Images in PDF Using a Free Mac App
PDFgear’s dedicated PDF editor app allows you to add customizable images into PDF on Mac in original quality, and it works great with larger PDF files and high-resolution images.
It also offers powerful PDF editing features for you to modify existing images in a PDF.
Now get the PDFgear app for Mac for free to get started!

Step 1. Open PDFgear on your Mac device, and click Open File to open the PDF you need.
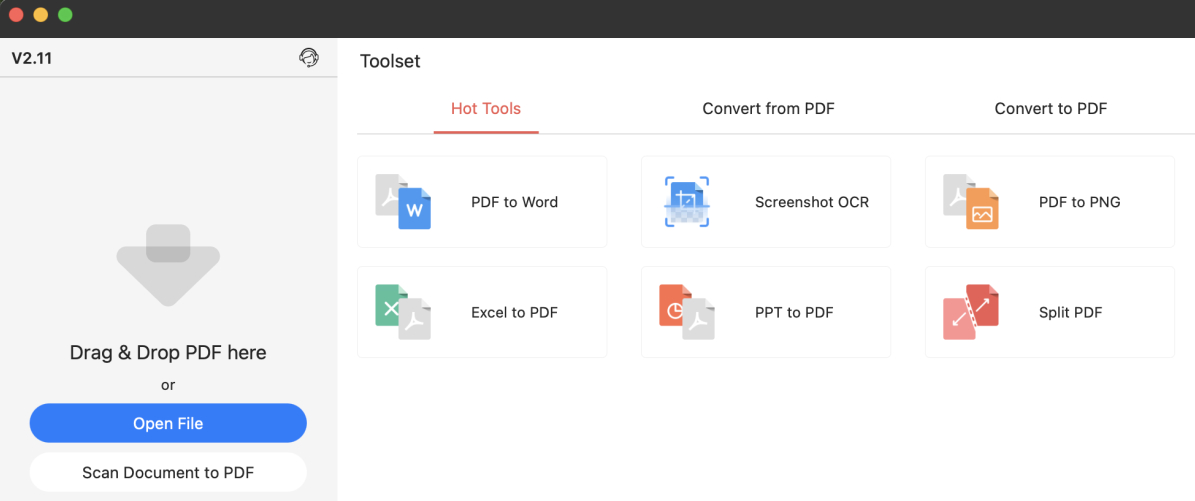
Open File
Step 2. Click the Image button from the upper ribbon.
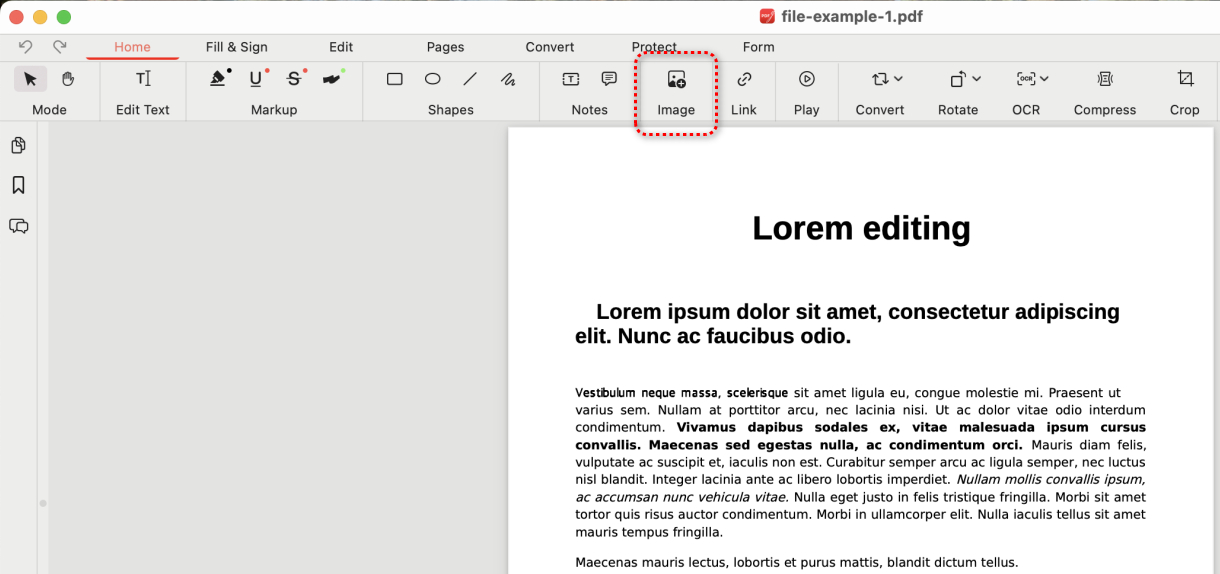
Click Image
Step 3. Tap the upper-left Add Image button and select a picture from your device to add to the PDF. Then click Open.
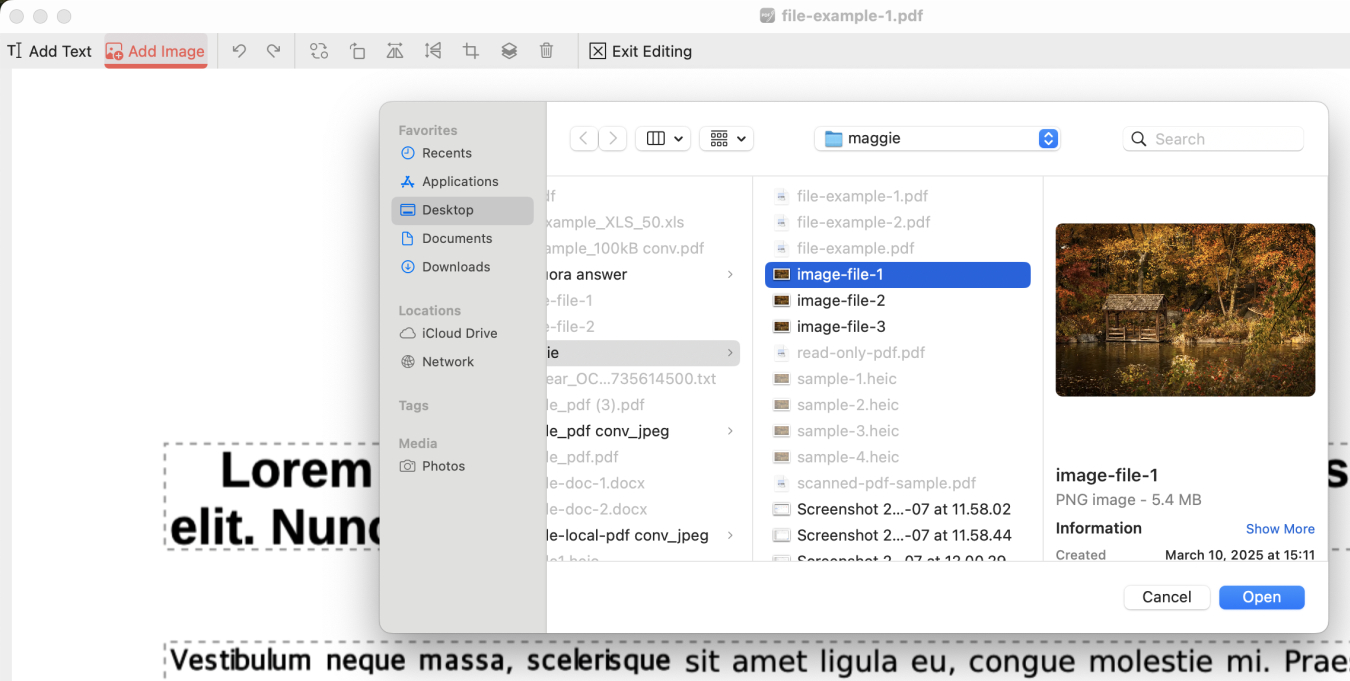
Add Image
Step 4. Once the PDF is added, drag on it to resize it or replace it.
Once done, click Exit Editing.
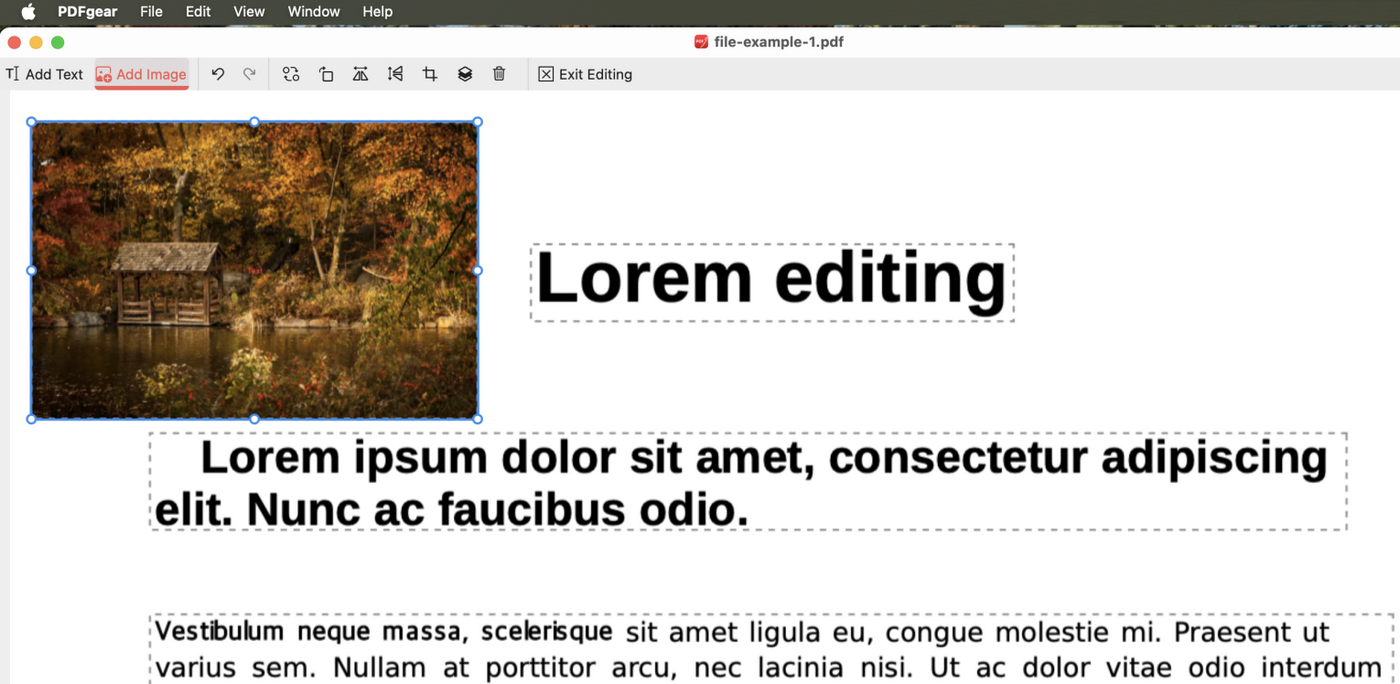
Resize Image
Step 5. Lastly, go to File > Save As to save a copy of the PDF with added images.
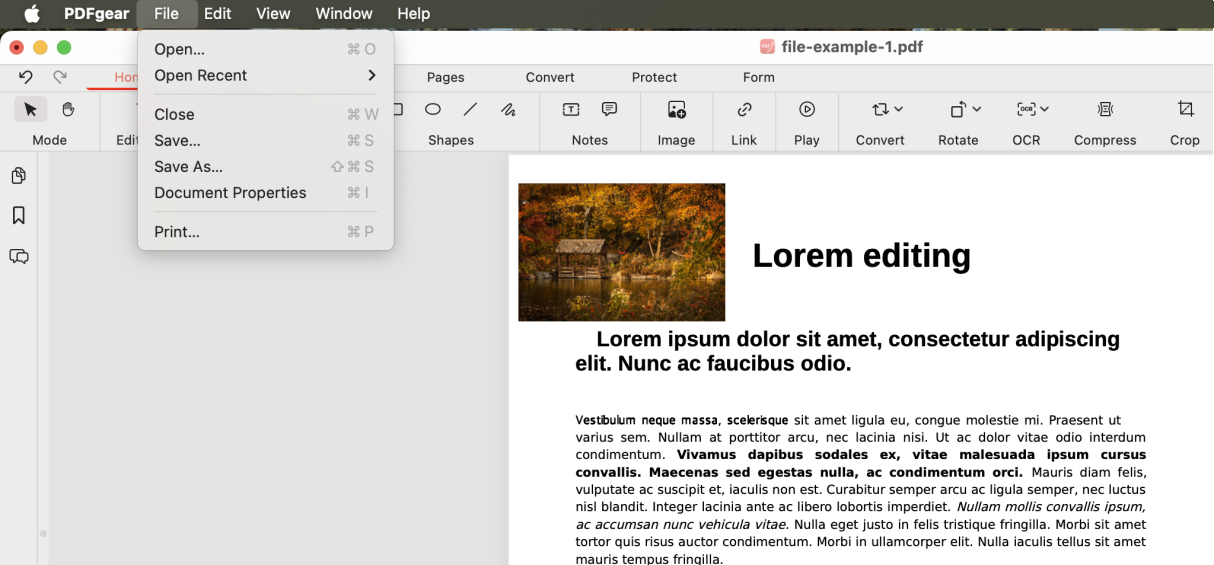
Save PDF
FAQs
What is the best image file format for adding to PDFs?
For most PDFs, JPEG is the best choice for photos, while PNG works well for logos and graphics. If high quality is needed, TIFF is an option, but it may increase file size.
Can I resize an image in a PDF using Mac’s Preview?
Yes, after adding an image with Preview, you can click on it and drag the blue handles to resize it.
How do I ensure the image I add to a PDF on Mac maintains its quality?
Use high-resolution images and avoid overstretching them beyond their original dimensions to maintain quality.
Will adding images to a PDF on Mac change the file size?
Yes, adding images will increase the file size of the PDF, depending on the resolution and dimensions of the images.
How to add pictures to a PDF on Mac as a page?
Open the PDF in Preview on Mac, go to “Edit” > Hover over “Insert” > Choose “Page from File” > Choose a picture from your device.
How to reduce the size of a PDF file with added images?
In PDFgear, there are a variety of ways to reduce the size of a PDF with high-quality images. You can choose to compress the PDF, delete unnecessary objects, delete unnecessary PDF pages, or flatten the PDF.